Netbeans Ide Mac Os X Download
In order to install NetBeans IDE, you must download it, complimentary of accuse, from the post-obit accost:
https://netbeans.org/downloads/index.html
On the NetBeans spider web page, at that place is a dropdown list that lets you choose the required platform (Windows, Linux, or Mac Os 10). Choose the platform that matches yours. This commodity shows the procedure of installing NetBeans IDE on a Windows platform.
From all the "download bundles" available on netbeans.org, select and download the one chosen "All." When the download is consummate, run the respective installer.
If you receive the message shown in Figure one, it means that the Java SE Development Kit (JDK) was not institute on your organization. Delight click hitherto download and install the JDK before proceeding with the NetBeans IDE installation.
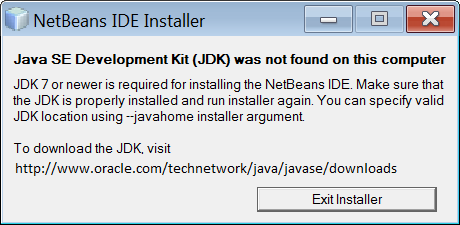
Figure ane This message is displayed when the JDK is not found on your system.
On the first screen of the NetBeans IDE installer, you can proceed and install all the proposed packs and runtimes or you can click on the "Customize" button and cheque only those proposed in Figure 2.

Effigy 2 Selecting the packs and runtimes to install in the NetBeans IDE installer
Click on the "Adjacent" push button to go through the installation screens. When the license agreement shows upwardly, you lot must read and accept the terms. The next screen prompts yous to select the installation binder and the Java Environment. Leave the proposed folders as shown in Figure 3.
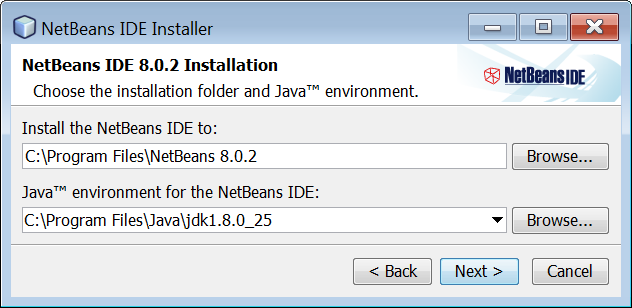
Figure 3 Selecting the installation folders in the NetBeans IDE installer
Discover: The installation folder and the Java environment proposed on your computer may differ from those in Effigy iii depending on the versions of the NetBeans IDE or JDK that y'all have.
On the adjacent screen, leave the field "Check for Updates" checked, as shown in Effigy 4. This option will automatically bank check for updates of installed plugins.
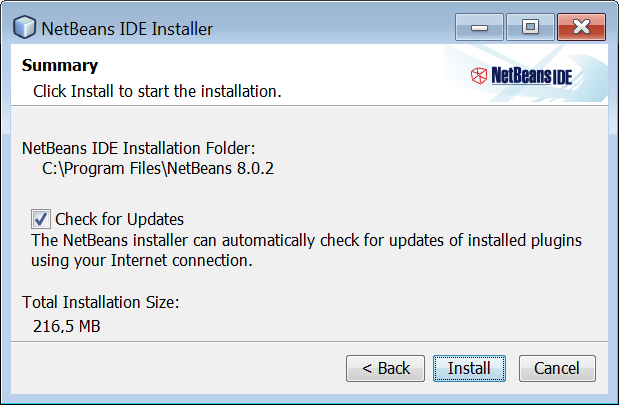
Figure 4 Selecting the box to check for updates
Click on the "Install" push.
When the installation procedure is complete, you can open up the NetBeans IDE. The first screen that yous will see is shown in Effigy 5.
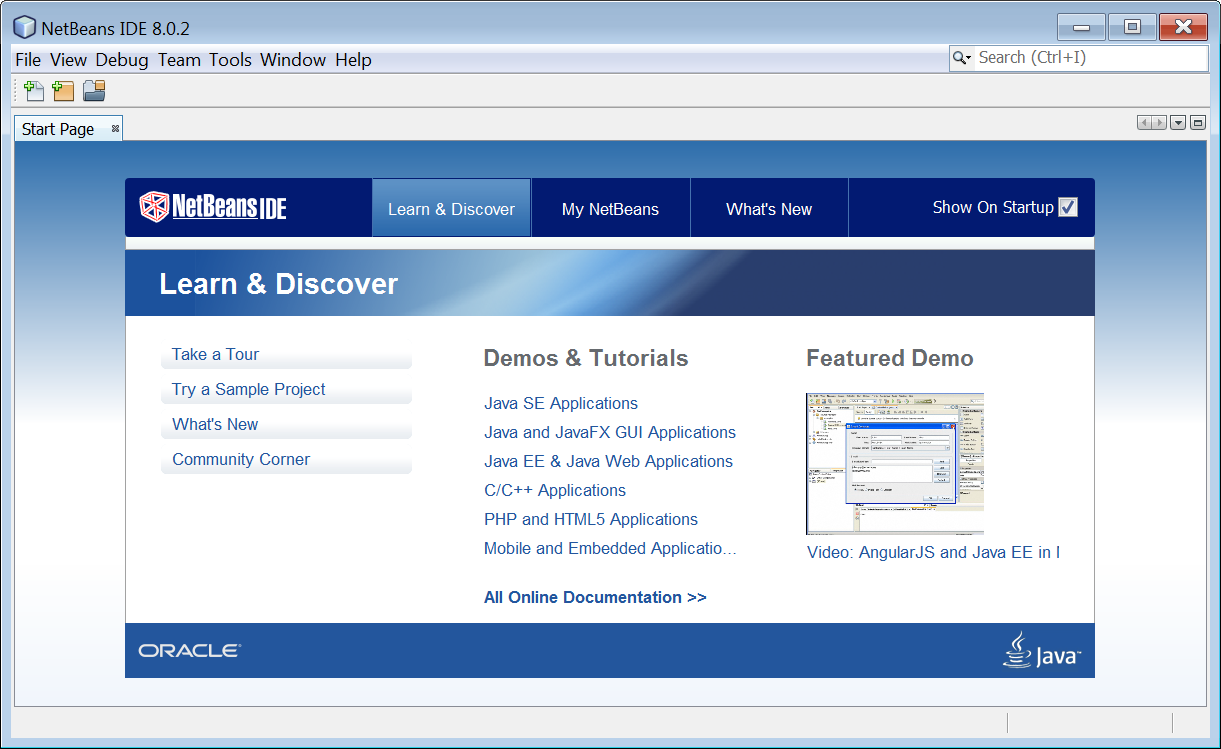
Figure 5 The NetBeans IDE commencement page
Now you need to configure NetBeans IDE. From the main carte du jour select Tools → Options and in the popup window that appears, click on the C/C++ icon to open up the "Options" dialog box of C/C++, every bit shown in Figure six.
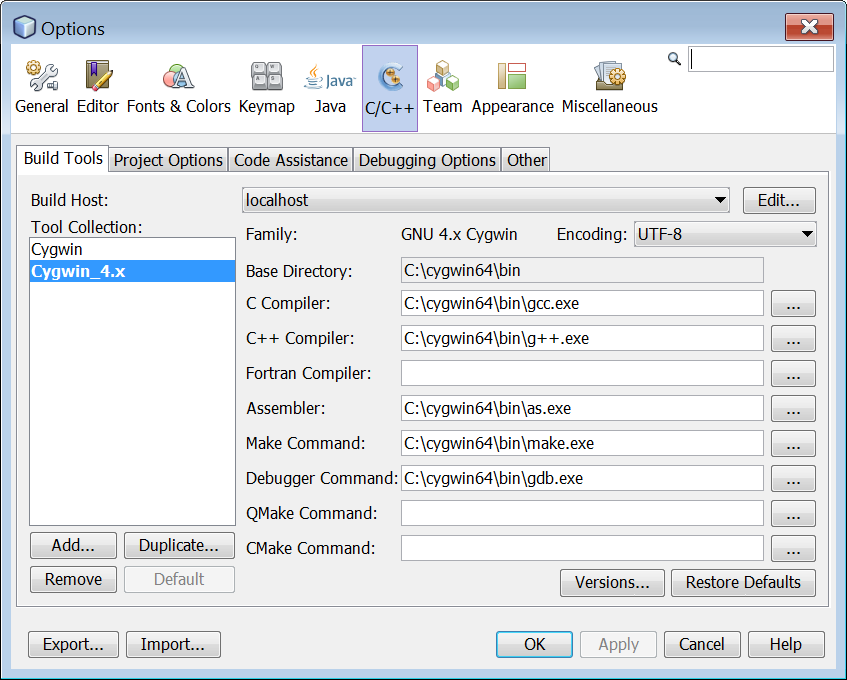
Figure vi The "Options" dialog box of C/C++
Detect: If Cygwin is non installed on your system, read and follow the instructions shown hither.
On the "Code Assistance" tab, select the "C++ Compiler" tab, click on the "Add" push button, and select the folder of the Heave C++ Library as shown in Effigy 7.
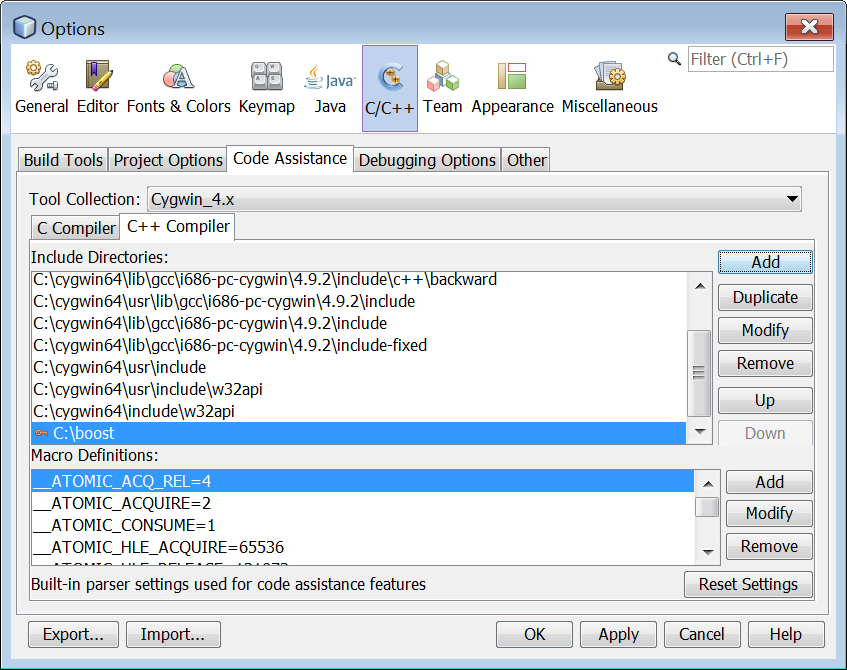
Figure seven Adding the Boost C++ Library
Notice: If Boost is not installed on your system, read and follow the instructions shown hither.
One additional thing that you can do is to decrease the number of spaces per indent to ii. This can give you lot some more than space to piece of work. You tin can change this setting by starting time clicking on the Editor icon to open up the Editor's "Options" dialog box, as shown in Figure 8.
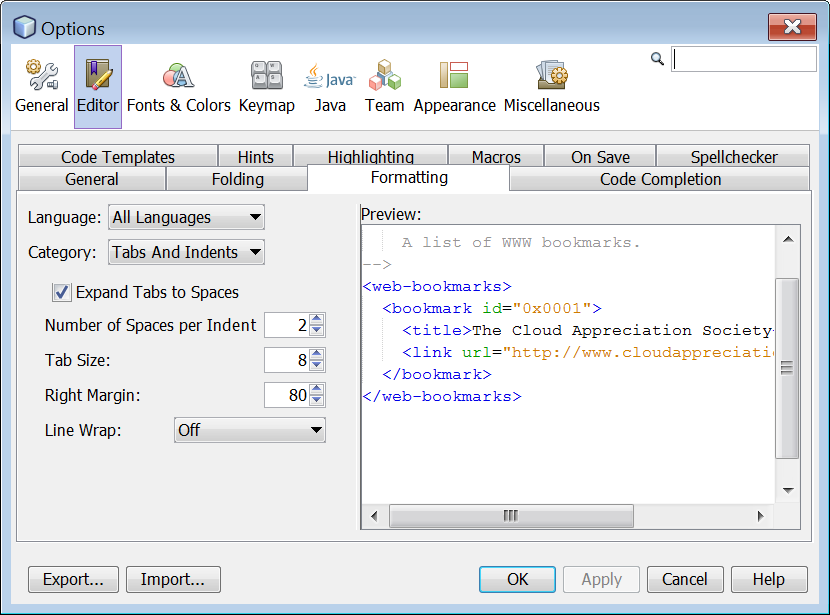
Figure 8 The Editor's "Options" dialog box
On the "Formatting" tab, gear up the field "Number of Spaces per Indent" to 2.
Click on the "OK" button.
NetBeans IDE has been configured properly! Now y'all tin can conquer the world of C++ !
Netbeans Ide Mac Os X Download
Posted by: autreytobile76.blogspot.com
Post a Comment